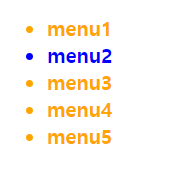
반응 선택자
마우스의 반응에 따른 속성을 설정할 수 있다
hover: 마우스가 올라갈 때 반응함
<!DOCTYPE html>
<html>
  <head>
    <meta charset="utf-8" />
    <style>
      ul > li {
        font-size: 20px;
        font-weight: bold;
        color: orange;
      }
      li:hover {
        color: blue;
      }
    </style>
  </head>
  <body>
    <ul>
      <li>menu1</li>
      <li>menu2</li>
      <li>menu3</li>
      <li>menu4</li>
      <li>menu5</li>
    </ul>
  </body>
</html>
<!DOCTYPE html>
<html>
  <head>
    <meta charset="utf-8" />
    <style>
      ul > li {
        font-size: 20px;
        font-weight: bold;
        color: orange;
      }
      li:hover {
        color: blue;
      }
      div {
        width: 500px;
        background-color: palegoldenrod;
        margin: 100px 0 0 50px;
      }
    </style>
  </head>
  <body>
    <ul>
      <li>menu1</li>
      <li>menu2</li>
      <li>menu3</li>
      <li>menu4</li>
      <li>menu5</li>
    </ul>
    <div>
      <ol>
        <li>menu1</li>
        <li>menu2</li>
        <li>menu3</li>
        <li>menu4</li>
        <li>menu5</li>
      </ol>
    </div>
  </body>
</html>
margin: 상하좌우 여백
e.g: margin 30px =>상하좌우 30px씩 준다
margin: 100px 0 0 50px=>위에서 100px, 왼쪽으로 50px
margin: 0 auto => 위아래 0 왼쪽오른쪽 auto 균등 분배

상태 선택자
상태에 따라서 CSS속성이 변하는 설정을 할 수 있다.
enable, disable, focus 등 상태에 따라 속성을 줄 수 있다.


<!DOCTYPE html>
<html>
  <head>
    <meta charset="utf-8" />
    <style>
      input:focus {
        border: 20px solid rebeccapurple;
        padding: 20px;
      }
      input:enabled {
        color: salmon;
        font-weight: bold;
      }
      input:disabled {
        color: rgb(252, 214, 0);
      }
    </style>
  </head>
  <body>
    <div>
      <form>
        이름: <input type="text" name="uname" /><br />
        아이디: <input type="text" name="uid" /><br />
        비밀번호:
        <input
          type="password"
          name="upw"
          value="12345"
          disabled="disabled"
        /><br />
      </form>
    </div>
  </body>
</html>
html부분
disable =>상태변경 불가
css부분
enable=>변경 가능할 경우 속성
disalbe=>변경 불가능할 경우 속성
focus=>마우스 클릭(focus)일 경우 속성(양식의 입력칸일 때)
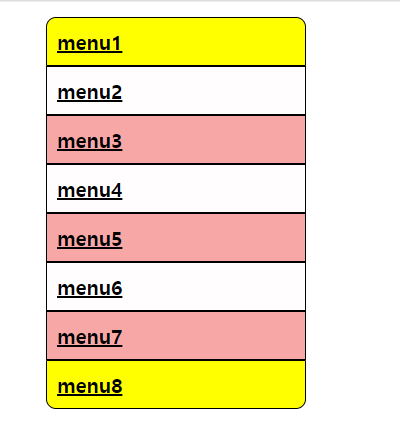
구조 선택자
구조에 따라서 CSS속성이 변하는 설정을 할 수 있다
맨 위, 맨 아래는 어떻게 해라, 짝수 구조는 어떻게 해라 등등을 할 때 쓰임
<!DOCTYPE html>
<html>
  <head>
    <meta charset="utf-8" />
    <style>
      #content {
        width: 300px;
      }
      ul li {
        list-style: none;
        border: 1px solid;
        padding: 10px;
        background-color: #fffdfd;
        font-weight: bold;
        font-size: 20px;
      }
      ul li a {
        color: #000000;
      }
      ul li:nth-child(2n + 1) {
        background-color: #f8a7a7;
      }
      ul li:first-child,
      ul li:last-child {
        background-color: yellow;
      }
      ul li:first-child {
        border-radius: 10px 10px 0 0;
      }
      ul li:last-child {
        border-radius: 0 0 10px 10px;
      }
    </style>
  </head>
  <body>
    <div id="content">
      <ul>
        <li><a href="#">menu1</a></li>
        <li><a href="#">menu2</a></li>
        <li><a href="#">menu3</a></li>
        <li><a href="#">menu4</a></li>
        <li><a href="#">menu5</a></li>
        <li><a href="#">menu6</a></li>
        <li><a href="#">menu7</a></li>
        <li><a href="#">menu8</a></li>
      </ul>
    </div>
  </body>
</html>
list style=>앞에 글머리표 지정, none일 경우 빠짐
자세한 내용: ↓
webberstudy.com/html-css/css-1/list-style/
list-style (리스트 스타일)
HTML 태그 중 ol, ul, li 요소에 스타일을 줄 수 있는 CSS 속성인 list-style 속성을 살펴 봅니다.
webberstudy.com
nth-child(2n+1)=> 2n+1번째 태그 선택, 즉 홀수번째
first-child=>맨 위
last-child=>맨 아래
border-radius=>바깥쪽 둥글게 (좌상단 우상단 우하단 좌하단)
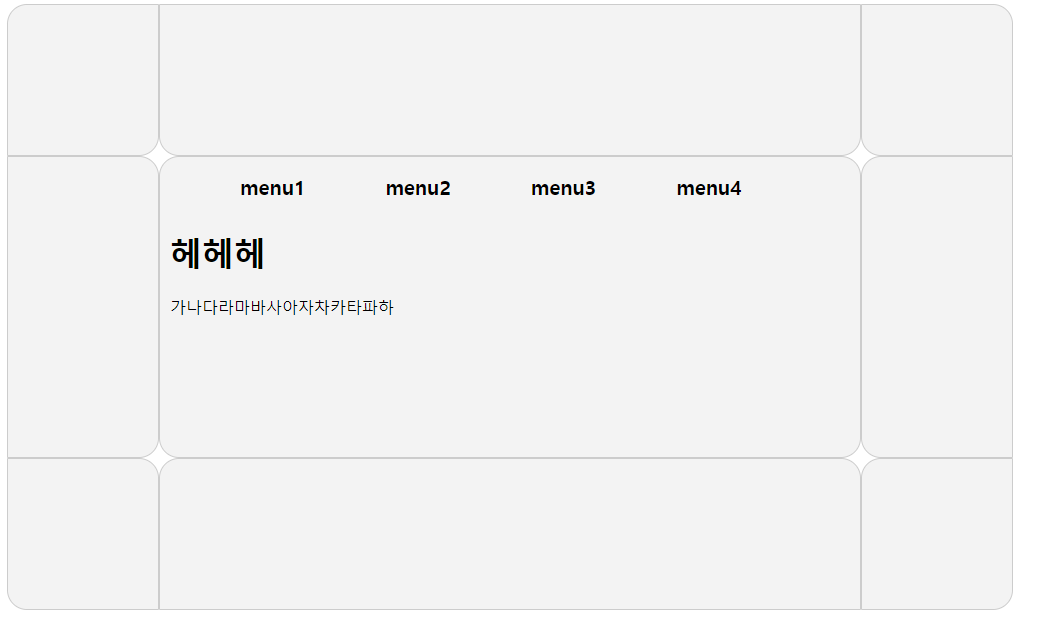
전체적인 레이아웃 설정
<!DOCTYPE html>
<html>
  <head>
    <meta charset="utf-8" />
    <style>
      #header,
      #content,
      #footer {
        width: 2000px;
        margin: 0 auto;
        overflow: scroll;
      }
      #header .left_space,
      #content .left_space,
      #footer .left_space {
        width: 150px;
        height: 150px;
        float: left;
        background-color: #f3f3f3;
        border: 1px solid #cccccc;
      }
      #header .center_space,
      #content .center_space,
      #footer .center_space {
        width: 700px;
        height: 150px;
        float: left;
        background-color: #f3f3f3;
        border: 1px solid #cccccc;
      }
      #header .right_space,
      #content .right_space,
      #footer .right_space {
        width: 150px;
        height: 150px;
        float: left;
        background-color: #f3f3f3;
        border: 1px solid #cccccc;
      }
      #header .left_space,
      #footer .right_space {
        border-radius: 20px 0 20px 0;
      }
      #header .right_space,
      #footer .left_space {
        border-radius: 0px 20px 0px 20px;
      }
      #header .center_space {
        border-radius: 0 0 20px 20px;
      }
      #header .right_space {
        border-radius: 0 20px 0 20px;
      }
      #content .left_space {
        border-radius: 0 20px 20px 0;
        height: 300px;
      }
      #content .center_space {
        border-radius: 20px 20px 20px 20px;
        height: 300px;
      }
      #content .right_space {
        border-radius: 20px 0 0 20px;
        height: 300px;
      }
      #footer .center_space {
        border-radius: 20px 20px 0 0;
      }
      #content .center_space ul li {
        list-style: none;
        float: left;
        padding: 0 40px;
        font-weight: bold;
        font-size: 20px;
      }
      #content .hehe {
        clear: both;
        padding: 10px;
      }
    </style>
  </head>
  <body>
    <div id="header">
      <div class="left_space"></div>
      <div class="center_space"></div>
      <div class="right_space"></div>
    </div>
    <div id="content">
      <div class="left_space"></div>
      <div class="center_space">
        <div>
          <ul>
            <li>menu1</li>
            <li>menu2</li>
            <li>menu3</li>
            <li>menu4</li>
          </ul>
        </div>
        <div class="hehe">
          <h1>헤헤헤</h1>
          <p>가나다라마바사아자차카타파하</p>
        </div>
      </div>
      <div class="right_space"></div>
    </div>
    <div id="footer">
      <div class="left_space"></div>
      <div class="center_space"></div>
      <div class="right_space"></div>
    </div>
  </body>
</html>
차근차근보면 별로 어렵지 않습니다